How to Dry Grain at Home UK: Step-by-Step for Beginners
Drying grain at home isn't complicated, but it does require patience and attention to detail. Whether you're preserving a harvest from your smallholding, storing grain for poultry or livestock, or experimenting with home milling, knowing how to dry grain properly keeps it fresh and prevents mould. Here's how to do it right.
Why Drying Matters
Grain contains moisture, and moisture invites mould, insects, and spoilage. Commercial grain typically reaches 12–14% moisture content for long-term storage. If you leave freshly harvested grain damp, it'll deteriorate within weeks—especially in the UK's humid climate. Drying removes that moisture, buying you months of stable storage.
Step 1: Clean Your Grain First
Before drying, remove debris, chaff, and broken kernels. A simple approach works fine: spread grain on a clean surface and use a handheld sieve or fan to separate light material while the heavier grain falls back. You can also buy a small grain cleaning mill (hand-cranked or electric) if you're serious about this.
Why bother? Debris holds moisture, interferes with airflow during drying, and can go rancid, tainting the whole batch. Ten minutes of cleaning now saves you headaches later.
Step 2: Load Your Dryer
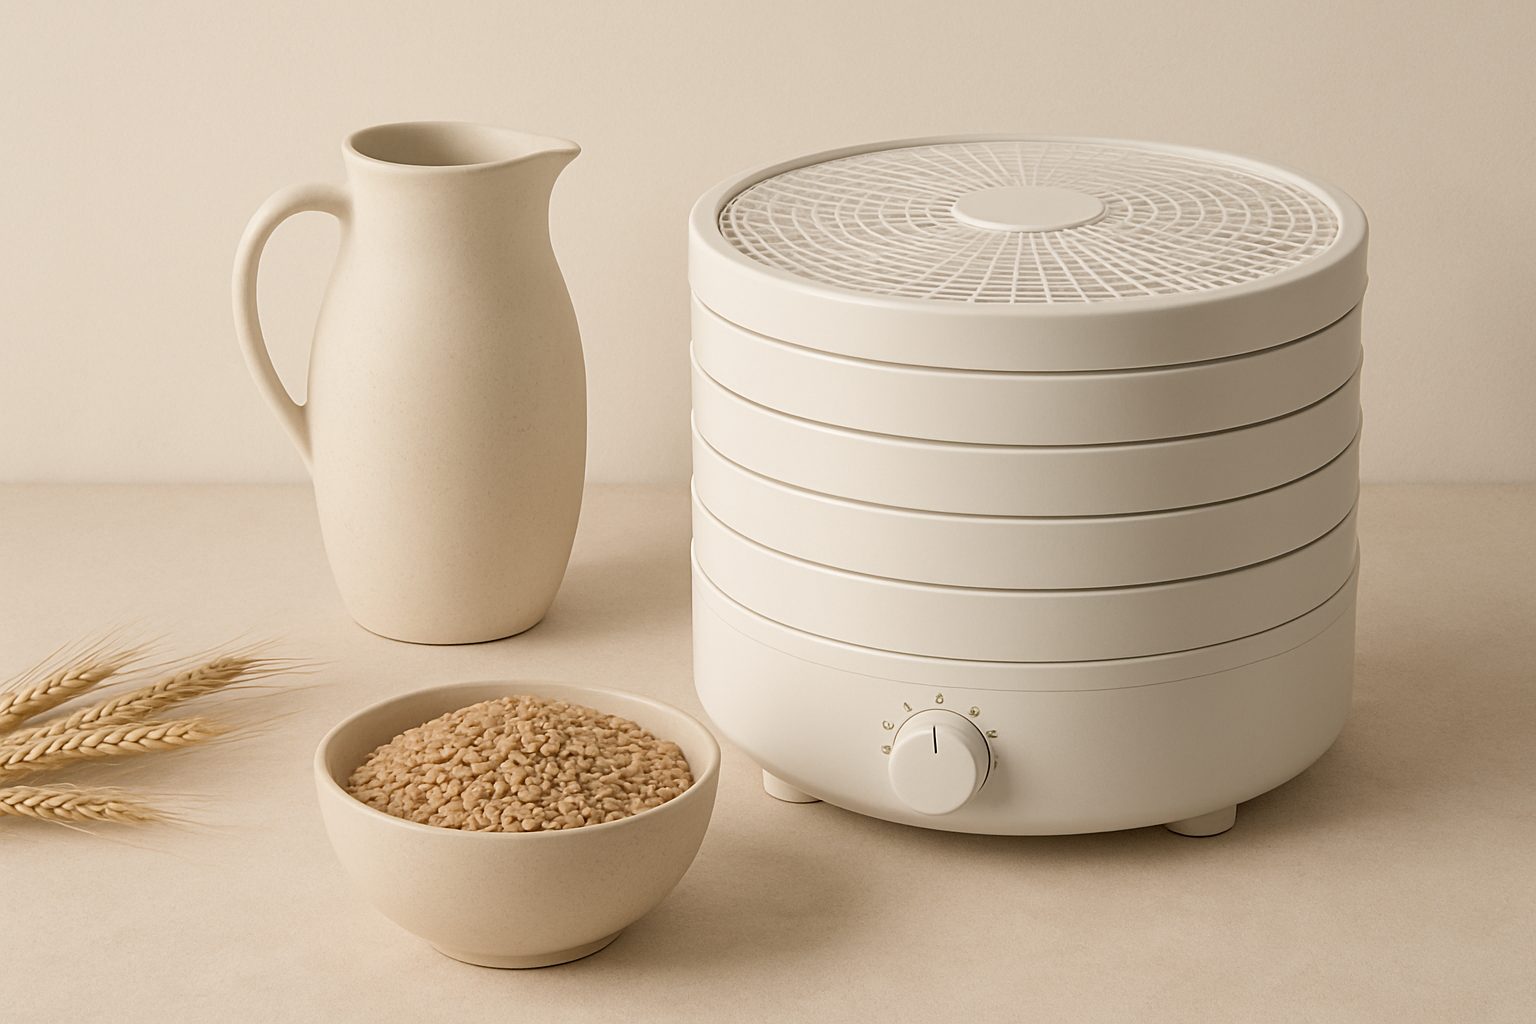
If you're using a commercial home grain dryer, follow the manufacturer's guidance on how much grain to load—don't overstuff. An overstuffed batch won't dry evenly because air can't circulate properly through the grain.
If you're DIY drying (using a dehydrator, low oven, or a homemade setup), spread grain no deeper than 5–10 cm. Stir it every 30 minutes if you're oven-drying or using a dehumidifier in a shed. Uneven heating or airflow is the biggest cause of patchy drying.
For very large quantities, some growers use a barn with a low-power heater and good ventilation, spreading grain on trays or the floor. This is slow but works if you're patient—typical drying takes 1–3 weeks depending on starting moisture and conditions.
Step 3: Set the Temperature
This is crucial. Too hot, and you'll damage the grain's viability (if you're saving seed) and cooking properties. Too cool, and drying takes forever or stalls.
Safe range: 40–50°C. This is warm enough to drive off moisture without degrading the grain. If you're drying seed grain and plan to grow from it next year, stay closer to 40°C. For grain destined for milling or animal feed, 45–50°C is fine and faster.
UK home dryers typically have a thermostat; set it and let it run. Check the grain after the first hour—it should feel warm but not too hot to hold comfortably. If your setup doesn't have temperature control (like a dehumidified shed), keep the space at around 20°C and accept it'll take longer.
Avoid these mistakes:
- Using an oven above 60°C—risks scorching and uneven results
- Drying in direct sunlight outdoors—birds and insects will get to it, and moisture loss is unpredictable in UK weather
- Closing grain in an airtight container while still wet—it'll just continue sweating
Step 4: Monitor and Test for Dryness
This is where most people slip up. You can't tell by eye or touch when grain is dry enough. You need to measure.
Moisture content target: 12–14% for storage. Some growers aim for 13% as a safe middle ground.
Best tool: a grain moisture meter. These handheld devices cost £30–100 and give a reading in seconds. It's the quickest, most reliable method. Simply take a handful of grain from the centre of your batch (where it's usually the wettest), feed it into the meter, and read the percentage.
Without a meter: Use the bite test. A properly dry grain should crack or snap cleanly when bitten—it won't bend or feel chewy. This works, but it's subjective and less accurate.
Another rough check: place a handful of dried grain in an airtight jar. After 24 hours, open it. If you hear a slight hiss, grain is still losing moisture. If it's silent, it's probably close to the target range.
Step 5: Cool Before Storing
Once drying is complete, let the grain cool to room temperature before bagging or binning it. Hot grain sealed up will trap steam and reabsorb moisture. Spread it on a clean surface for 30 minutes—an hour if the batch is large—before moving it into storage containers.
Timing and Dryness Variation
Drying time depends on:
- Starting moisture: Freshly harvested grain (often 15–20% moisture) takes longer than partially dried grain.
- Grain type: Wheat and barley dry faster than beans or seeds.
- Ambient humidity: Summer drying in a dry shed is quicker than winter drying in a damp climate.
Expect 12–48 hours in a commercial dryer, or 1–3 weeks in a dehumidified space or low-temperature setup.
Storage After Drying
Once dry and cooled, store grain in:
- Food-grade buckets with sealed lids
- Airtight bins in a cool, dry cupboard or shed
- Vacuum-sealed bags for smaller quantities
Keep stored grain away from moisture, rodents, and direct light. Properly dried and stored grain stays fresh for 6–12 months; seed grain keeps longer if stored cool.
Final Thoughts
The key to successful home grain drying is patience and measurement. Skip the guesswork—invest in a moisture meter if you're serious—and your grain will store reliably. Whether you're a smallholder, baker, or seed saver, these straightforward steps will keep your harvest in good condition.
More options
- Electric Grain / Seed Dryer (Tabletop) (Amazon UK)
- Digital Grain Moisture Meter (Amazon UK)
- Airtight Food-Grade Grain Storage Buckets & Bins (Amazon UK)
- Inline Centrifugal Fan for Grain Drying (Amazon UK)
- Digital Thermostat Temperature Controller (Amazon UK)